Main Content
20 Tips on How to Winterize Your Home Before the Cold
So you’ve found your winter attire at the bottom of the closet and have stocked up on your favourite hot drinks and soups. You are ready for below-zero temperatures, but what about your home? Have you taken the steps to winterize your home before the cold?
As a homeowner, you should take precautionary steps to ensure your house is well prepared for winter, not only to prevent damage and enhance winter comfort but also to maintain your property’s value over the long run. Here are several ways you can start preparing your home for winter before it’s too late.
Key Takeaways: How to Prepare Your Home for Winter
- Seal Your Home’s Envelope: Find and seal all air leaks in your windows, doors, and foundation — your first line of defence against the cold.
- Maintain Your Furnace: Get your furnace professionally inspected and cleaned long before winter arrives. A healthy furnace is key to a warm and safe winter.
- Prevent Frozen Pipes: Drain all outdoor water lines and insulate any pipes in unheated areas like basements or crawl spaces to prevent bursting—and headaches.
- Prepare for Emergencies: Be well-prepared for home or on the road by putting together survival kits.
Winterize Your Home by Sealing Leaks and Cracks
Even the smallest crack in your home can let in a surprising amount of cold air, driving up your heating bills and creating uncomfortable, chilly drafts. Therefore, a main goal of winterizing your home is to make your “envelope”—the barrier between you and the outdoors—as airtight as possible.
Tip 1: Conduct a Thorough Inspection for Air Leaks and Cracks
Walk around the exterior of your home and also throughout the inside with a keen eye, specifically looking for leaks and cracks of any kind.
- What to look for: Check where different materials meet, such as around window and door frames, electrical outlets on exterior walls, and where pipes or vents enter your home.
- How to fix it: Use weather-resistant caulking for cracks smaller than 1/4-inch and expanding foam spray for larger gaps.
- Why it’s important: Sealing air leaks is one of the most cost-effective ways to reduce your heating costs. Chilly drafts can account for up to 25% of a home’s heat loss according to the Government of Canada, so sealing them off is essential to winterizing your home.
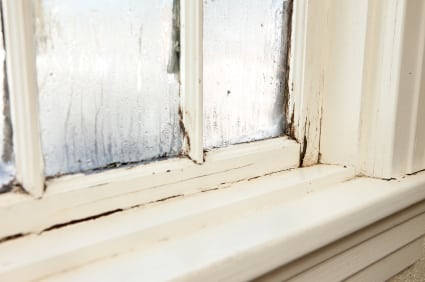
Tip 2: Insulate Your Windows with Plastic Film
You’d be amazed at how much a small crack in a door or window seal can reduce your home’s energy efficiency in winter. Windows are a significant source of heat loss; therefore, applying a layer of plastic film is a simple and effective solution.
- What to do: You can buy inexpensive window insulation kits from any hardware store like The Home Depot or Rona. These kits consist of a sheet of plastic film that you apply to the inside of your window frame with double-sided tape and then shrink to a tight, clear fit with a hairdryer.
- Why it’s important: The air gap created between the windowpane and the plastic film acts as an extra layer of insulation, significantly reducing heat loss and preventing frosty condensation on the glass. It’s like adding an extra pane to your window.
Tip 3: Check and Reinforce Your Weather-Stripping 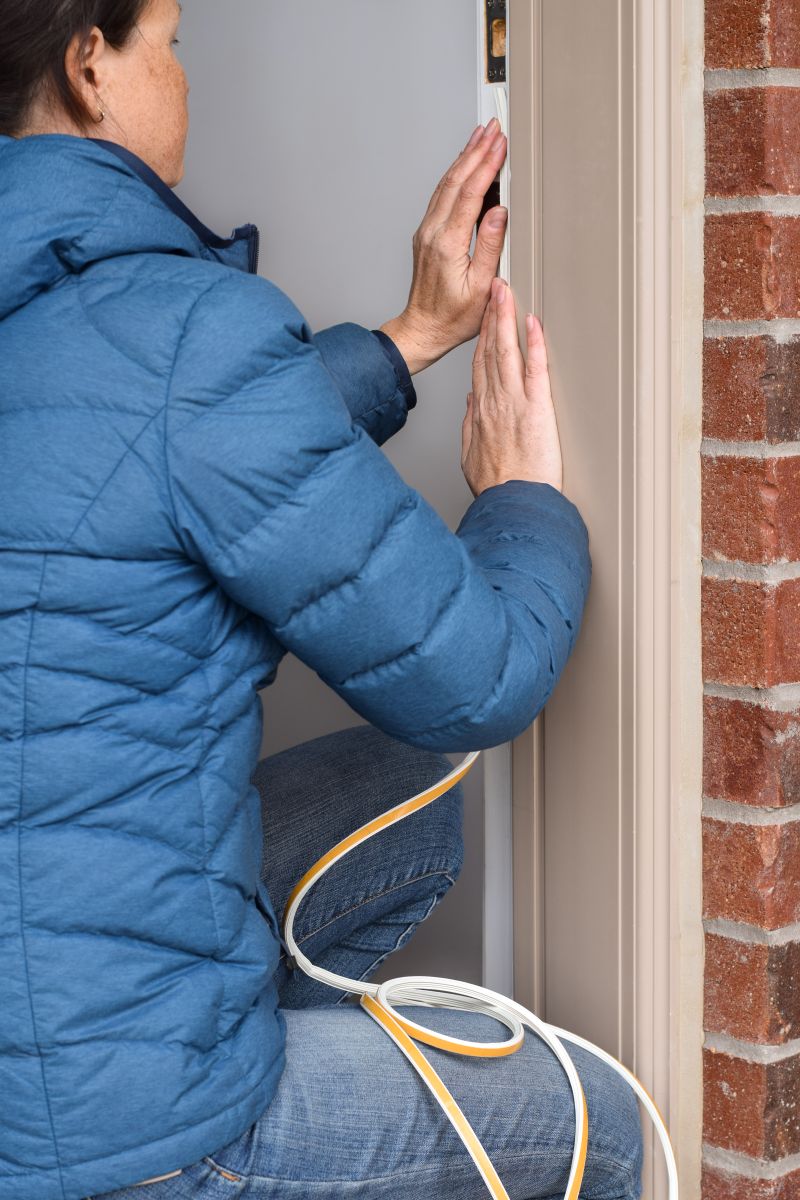
The seals around your doors and windows degrade over time. Therefore, a key component to winterizing your home for the cold includes checking existing weatherstripping to determine if it’s functioning as intended.
- How to check: Close a door or window on a piece of paper. If you can pull the paper out easily, your weather-stripping isn’t creating the tight seal needed and should either be replaced or added to.
- Why it’s important: Worn-out weather-stripping is like leaving a window open a crack all winter long, creating constant drafts and wasting heat and energy – and your hard-earned money as a result
Tip 4: Check Your Attic Insulation
If you have a typical home with an accessible attic, adding insulation is an effective way to keep your house warm and energy-efficient during the winter.
- What to look for: In your attic, check that the insulation is evenly distributed and reaches the recommended depth for our climate (at least R-50, which is standard builder code in most jurisdictions, equating to about 16 inches thickness for most types).
- Why it’s important: Heat rises; inadequate attic insulation means a significant portion of the heating you’re paying for may be escaping right through your roof.
Tip 5: Use Draft Stoppers for Doors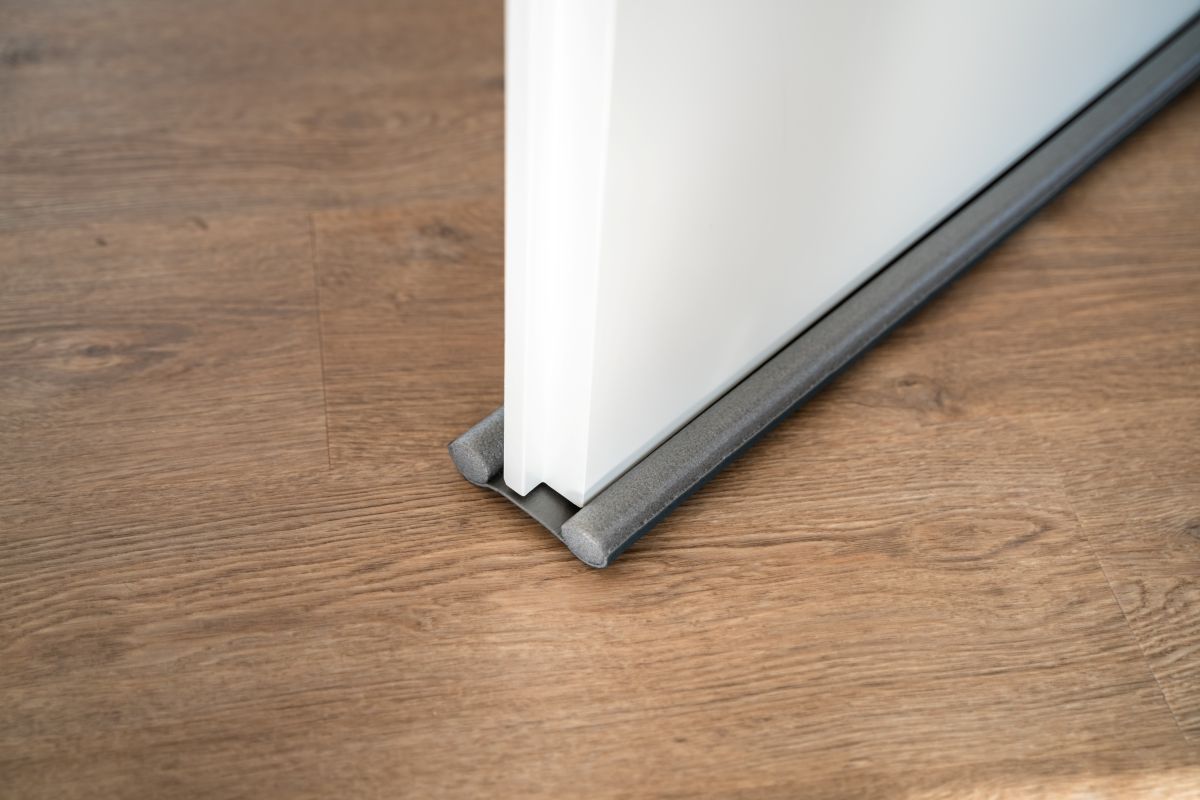
For gaps under exterior doors, a simple draft stopper can make a big difference. These devices are easy to install and can also prevent slush from getting tracked into your home.
- What to use: You can buy decorative “draft snakes” or install a more permanent door sweep on the bottom of the door.
- Why it’s important: This is a low-cost, high-impact solution for stopping a very common source of cold air from entering your home throughout the winter.
Winterizing Your Home Starts with the Furnace
Your furnace is the heart of your home in the winter. Keeping it in tip-top shape is crucial for winterizing your property, keeping you comfortable while reducing your energy bills.
Tip 6: Test and Maintain Your Furnace
Before the first snowflake falls, it’s a good idea to give your furnace a test run. If you don’t know how to perform this test on your own, reach out to a trusted professional to come and do it for you.
- Do a trial run: Turn on your furnace for a short period to make sure it’s working correctly. You might notice a slight burning smell at first, which is usually just dust burning off. If the smell persists, turn off the furnace and call a professional.
- Why this is important: A malfunctioning furnace can leave you in the cold at the worst possible time. Testing it early gives you plenty of time to schedule a repair if needed.
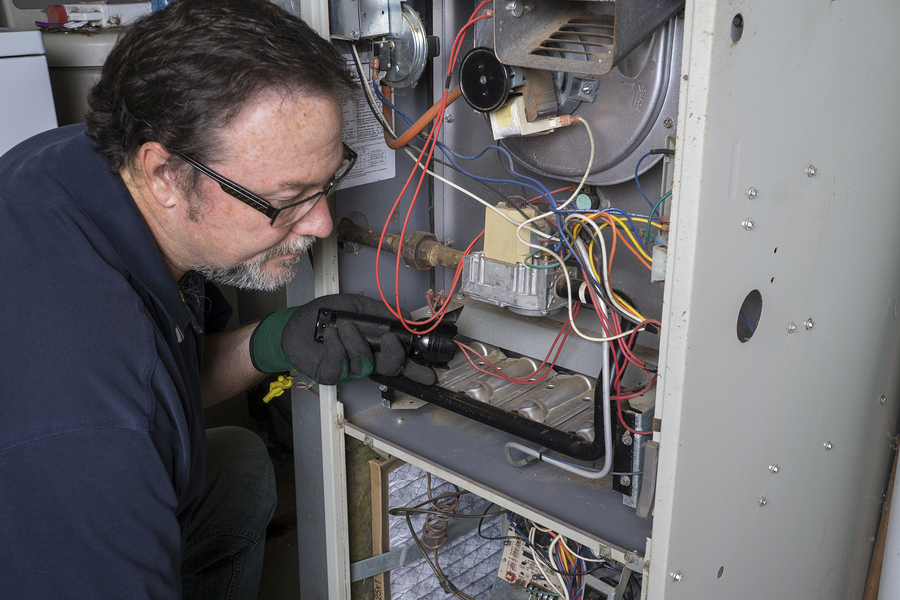
Tip 7: Schedule a Professional Furnace Inspection and Cleaning
A furnace inspection and cleaning is a small investment that can pay off in big ways. Having your furnace inspected and cleaned annually is never a bad idea. Doing so keeps it in excellent shape for many winters to come and keeps your HVAC venting and house clear of dirt and debris.
- What to expect: A professional will clean the internal components of your furnace and venting system, check for any safety issues, and ensure it’s running at peak efficiency. In Calgary, for example, you can expect to pay between $150-$250 for a trusted furnace-cleaning service provider.
- Why this is important: A clean furnace is a more efficient furnace. A professional inspection can also catch minor problems before they become big, expensive repairs, as your typically furnace can start at $2,500 and go up to $9,000 or more for more efficient models.
Tip 8: Replace Your Furnace Filter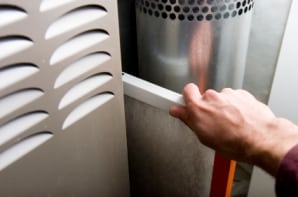
This is one of the easiest and most essential ways to winterize your home for the cold. So, do yourself a favour, and make sure to stock up on furnace filters.
- How often: Check your filter monthly and replace it when it’s dirty. The standard interval for changing furnace filters is 3 months, though it doesn’t hurt to do it every month or two during the winter.
- Why this is important: A clogged filter forces your furnace to work harder, which increases your energy bills and can lead to premature system failure. A clean filter also improves your home’s air quality.
Tip 9: Replace Your Furnace
If your furnace is old and on its last legs, then replacing it altogether can go a long way in keeping your home fully winterized and prepared for the cold. You’ll want to prepare for a furnace replacement long before winter arrives, so schedule yourself in sooner rather than later, as HVAC companies are often very busy and book months out in advance.
- Shop around: Many companies offer the same service, but some will stand out from the rest, either from reviews or price. Do your due diligence and find a trusted furnace installer for the job.
- Why this is important: If your furnace stops working in the middle of a cold spell, it could mean big trouble, including frozen water lines and other damage cold can cause to the interior of your home.
Tip 10: Reverse Your Ceiling Fans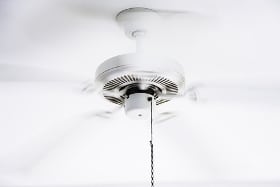
Many people don’t know that their ceiling fans have a winter setting, which helps push warm air down and can help keep your humble abode nice and toasty during the colder seasons.
- What to do: Look for a small switch on the base of the fan or for the appropriate setting on your app. In the winter, the blades should rotate clockwise at a low speed.
- Why this is important: This gentle rotation pushes the warm air that has risen to the ceiling back down into the living space, making the room feel warmer and allowing you to lower your thermostat.
Protect Your Piping from the Winter Cold
A burst pipe is one of the most destructive problems a homeowner can face during the cold—and can be extremely expensive to fix. Therefore, taking these preventative steps to prepare your home for the winter is non-negotiable.
Tip 11: Drain All Outdoor Water Faucets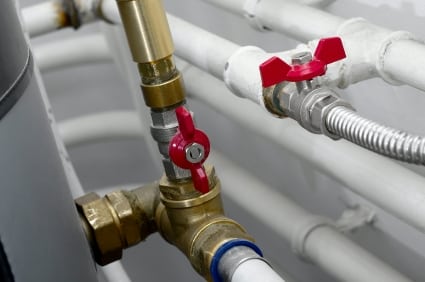
Prevent your exterior pipelines from freezing and then bursting by shutting off all taps and draining outdoor water faucets.
- What to do: Locate the interior shut-off valve for each outdoor faucet (usually found in the basement or a crawl space) and turn it to the “off” position. Then, go outside and turn the faucet on to drain any remaining water.
- Why this is important: Water left in a pipe can freeze, expand, and then crack its containing pipe, leading to a major flood inside your walls and house upon thawing.
Tip 12: Drain Your Sprinkler System(s)
Just as your faucets do, irrigation sprinkler systems need to be fully drained of water before winter arrives. You may need special equipment to do the work, or require the services of a third party.
- What to do: This process, called a “blowout,” usually requires a professional with an industrial air compressor to force all the water out of the lines.
- Why this is important: Frozen water will crack the underground pipes and sprinkler heads, leading to costly repairs in the spring.
Tip 13: Add Insulation to Your Pipes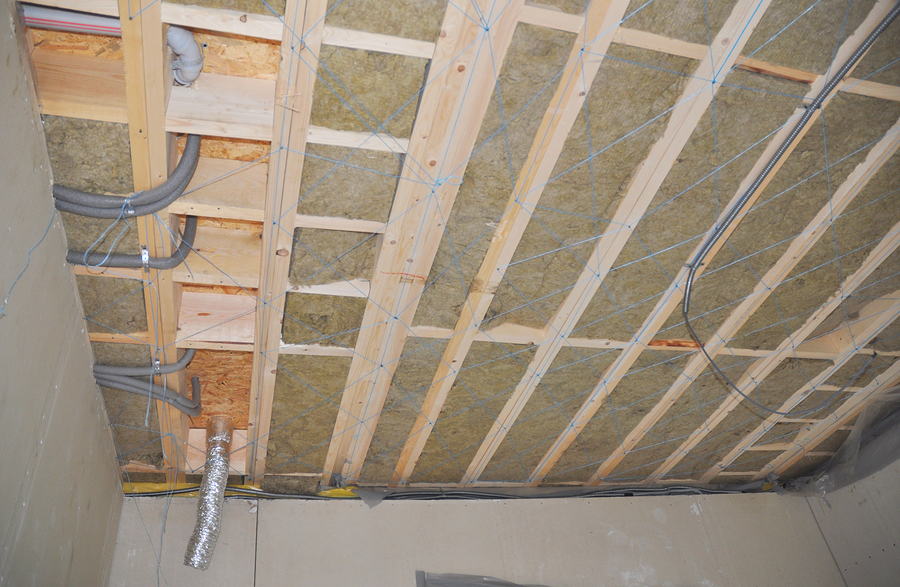
Identify any water pipes that run through unheated areas of your home and take steps to properly insulate them from the cold. If you’re unsure of what materials to use, ask your local home department store for help.
- Where to check: Look in your basement, crawl spaces, attic, and even inside kitchen and bathroom cabinets located on exterior walls.
- What to do: Use foam pipe insulation sleeves or wrapping to cover these pipes, preventing them from freezing due to below-zero temperatures.
- Why this is important: This simple and inexpensive step provides an essential barrier against the cold air drafts that can have a surprisingly chilling effect
Prepare Your Home’s Exterior for Winter
Preparing the outside of your home is just as important as preparing the inside. A properly winterized house exterior not only extends the life of your property but also helps to retain its value over the long haul.
Tip 14: Clean Out Your Eavestroughs and Downspouts
Before the temperature drops, make sure your gutters are clear of leaves and debris to ensure proper drainage of snowmelt and any rainwater (highly dependent on your local climate, of course).
- What to do: Safely use a ladder to be able to scoop out all debris from your eavestroughs. Then, use a hose to flush the downspouts and ensure water flows freely away from your foundation.
- Why this is important: Clogged gutters can cause “ice dams”—thick ridges of ice that build up at the edge of your roof. These dams prevent melting snow from draining, forcing the water back under your shingles and potentially causing leaks and severe water damage. Ice blocks can also redirect water to accumulate at the base of your home’s foundation, something you want to avoid, especially amid freeze-thaw cycles that are commonplace during winter.
Tip 15: Inspect Your Roof
Give your roof a once-over before it’s covered in snow to check its integrity and see if any repairs are required.
- What to look for: From the ground, use binoculars to look for any missing, cracked, or curling shingles. If possible, use a ladder to reach the roof for a closer inspection.
- Why this is important: A damaged shingle is a potential entry point for water. It’s much easier and safer to have a minor repair done in the fall than to deal with a major roof leak in the middle of winter.
Tip 16: Trim Trees and Bushes 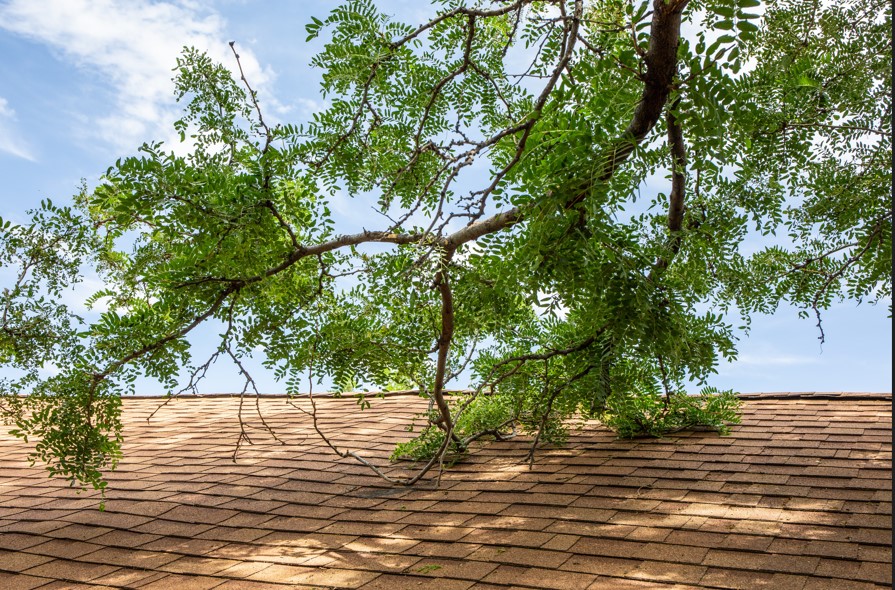
Heavy snow and ice can be a significant threat to your home if you have overgrown trees. Fragile tree branches can easily break off under the immense weight of snow.
- What to do: Trim any tree branches that are dead, damaged, or hanging over your roof, powerlines, or other parts of the home.
- Why this is important: The weight of snow and ice can easily snap a weak tree branch, causing it to fall and damage your roof, car, or worse – the last thing you want to be dealing with when it’s below zero outside.
Preparing Your Home for Winter Emergencies
Winter can bring power outages and severe storms, leaving you without power, natural gas, and sometimes communications as well. Therefore, being fully prepared for cold weather is key to your family’s safety and comfort.
Tip 17: Build a Home Survival Kit 
If a winter snowstorm knocks out your local power, you’ll be glad you have an emergency kit ready to help keep warm while your municipality works to restore services.
- What to include: Flashlights, extra batteries, a battery/solar-powered or hand-crank radio, several blankets, sleeping bags, a first-aid kit, and any necessary medications. Also include maintenance tools like snow shovels and de-icers to help mitigate snowfall.
- Why this is important: Having these items in one easy-to-find place eliminates stress and scrambling during an emergency, ensuring your family can stay safe and warm until power is restored.
Tip 18: Test Your Smoke & Carbon Monoxide Detectors
Doing your due diligence and testing your detectors is a life-saving task essential to winterizing your home, and it takes only a few short minutes.
- What to do: Press the “test” button on each detector to ensure the alarm sounds. Replace the batteries at least once a year, even if they seem fine.
- Why this is important: The risk of house fires and carbon monoxide (CO) poisoning increases in the winter. CO is an odourless, colourless gas produced by fuel-burning appliances like your furnace; prolonged exposure within confined spaces like your home can be deadly.
Tip 19: Build a Travel Survival Kit
When winter strikes, it’s smart to keep a travel survival kit in your vehicle to stay safe during unexpected emergencies.
- What to include: Your travel kit should include items like a warm blanket, extra hats and gloves, a flashlight with spare batteries, high-energy snacks (like granola bars), bottled water, a first-aid kit, a phone charger, a shovel, traction aids (such as cat litter or sand), and jumper cables. Keep all of these in a dedicated bag so you’re prepared for roadside emergencies, delays, or sudden storms.
- Why this is important: Having a well-stocked survival kit in your car ensures you’re ready for winter breakdowns or delays, helping you stay warm, nourished, and safe until help arrives.
Tip 20: Stock Up on Non-Perishable Food and Water
Winterizing your home also means ensuring you have at least a 72-hour supply of food and water on hand in case of emergencies.
- What to stock: Choose foods that don’t require cooking or refrigeration, such as granola bars, canned goods, and dried fruit. Have at least four litres of water per person, per day
- Why this is important: During a severe storm, you may not be able to leave your home for several days. A well-stocked pantry with ample food and water provides peace of mind.
Prepare Your House for Winter — Before it’s Too Late!

By following these home winterizing tips, you can keep your property comfortable, efficient, and safe all season. Preparation now means peace of mind when the cold weather hits. Stay warm and ready!
Preparing Your Home for Winter: Frequently Asked Questions
Q. At what temperature should you winterize your house in winter?
Begin winterizing your home when temperatures consistently drop to near freezing (0°C or 32°F) to prevent damage and heat loss.
Q. Should I leave the heating on all night in freezing weather?
Yes, keep your heating on at a low temperature—ideally 20°C (68°F )— to prevent pipes from freezing and maintain a consistent, comfortable environment.
Q. What is the cheapest temperature to keep your house at in winter?
Set your thermostat between 18–20°C (64–68°F) for energy efficiency and comfort.
Q. Is it bad to keep turning your heat on and off in winter?
Constantly turning your heat on and off can waste energy and strain your system. It’s best to maintain a steady temperature using smart thermostats and phone apps to make it easy to control.
Q. What is the safest heater to leave on overnight?
Oil-filled radiators and modern electric heaters with safety switches are generally safest, but always make sure to follow the manufacturer’s instructions.
Required fields are marked*
- Airdrie
- Alberta
- Arts and Culture
- Blog
- Buying Tips
- Calgary
- Calgary Activities and Events
- Calgary Communities
- Calgary Condo Guide
- Calgary Infill Homes
- Calgary Luxury Homes
- Calgary New Condo Guide
- Calgary New Homes
- Calgary Real Estate Statistics
- Calgary Restaurants
- Calgary Townhomes
- Canada
- Condo Building Review
- Condos in Calgary
- Featured Blog Posts
- Featured Blogs
- First Time Home Buyers Guide
- Listings
- Moving to Calgary
- New Condo Projects
- Oil and Gas
- Selling Tips
- Slider
- Testimonials
- The Best in Calgary
- Uncategorized
- Video Testimonials
- Contact Us
- Search MLS®
- Sellers’ Guide
- Buyers’ Guide
- About Cody & Jordan
- Blog
- Testimonials
- Downtown Calgary
- SW Calgary
- SE Calgary
- NE Calgary
- NW Calgary
- Calgary Condos
- Calgary Townhomes
- Calgary Infills
- Calgary Luxury Homes
- New Calgary Homes
- New Calgary Condos
- Acreages for Sale
- Bungalows for Sale
- Duplexes for Sale